|
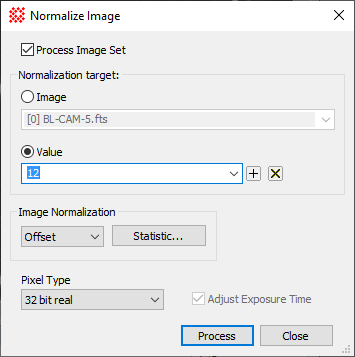
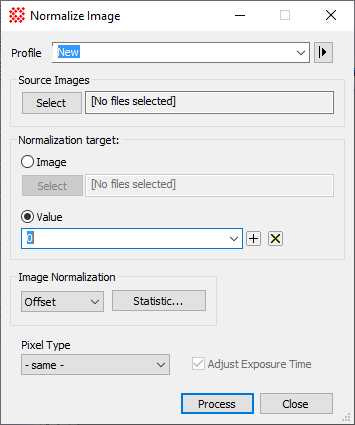
Normalize Image Properties
|
|
Profile [|>]
|
Opens the Select Source Images dialog to choose images
from an image window, folder, files, name template, or a Mira File
List.
|
|
[Select]
|
Select the source images.
|
|
Normalization Target
|
|
|
 Image Image
|
Selects normalization to a statistic computed from
a reference image.
|
|
[Select]
|
Selects the normalization target image from an
image window, folder, file, name template, or a Mira File List.
|
|
Value
|
Selects normalization to a value. The value is
entered in the field to the right. Use the [+] and [x] buttons to
add or delete the currently displayed entry.
|
|
Image Normalization
|
Selects the method used to adjust the pixels
during the normalization process.
Offset adds a
constant to the image values.
Scale multiplies the
image values.
|
|
Normalization Stat...
|
Click this button to open the Region Statistics
dialog to set Properties for computing a region statistic on the
images.
|
|
Adjust Exposure Time
|
Check this box to adjust the exposure time to
correspond to the image intensity after normalizingScale method.
|
|
Output Pixel Type
|
Select the numeric pixel type in the normalized
images.
|
Mira Pro x64 User's Guide, Copyright Ⓒ 2023 Mirametrics, Inc. All
Rights Reserved.